Here I will show you how to drive your Explora like a real Ferrari. Just by knowing a few extra things will help you get much more fun and joy out of this device that you acquired. I also want you to be able to know the easy way to record.
What are the main benefits of a DStv Explora personal video recorder (PVR) ?
| 1. To record and watch at a time that is convenient for you. |
| 2. Maximize the amount of programs that can be recorded. (Disc space). |
| 3. Programs can be locked so that it cannot accidentally be deleted. |
| 4. With recordings you do not need to watch adverts. |
| 5. You can fast forward past uninteresting parts. (Save Time). |
| 6. One can mark specific scenes or songs for quick retrieval in future. |
What Recordings types are possible?
| 1. BUFFERING: When a decoder is left on, it will automatically record (Buffer) the previous 2hours. (max). This is not a permanent recording and cannot be retrieved in the future. *This means you can rewind this channel (only) for 2 hours to start at the beginning. *When your phone rings, you can press pause, for it to record for 2 hours only. (Lost on channel change). |
| 2. PERMANENT RECORDINGS: By pressing the RED RECORD BUTTON in the middle of a program, it will record the rest of that program permanently on the hard-drive for later retrieval. |
| 3. FUTURE PROGRAM RECORDINGS: (Also permanent) Using the TV-GUIDE function you can record programs coming up in the next week. * You can also record whole SERIES in this way. * Recording in Standard definition (SD) will give you much more recording space on the hard-drive. |
| 4. MANUAL RECORDINGS: (Permanent) This is for making special recordings where you may want to record only a part of a program to keep for a long time, or where you want to join two following programs together. – Remember it is not possible to edit programs with these recorders. |
| 5. CATCH UP: These are popular program recordings that happen automatically without your input. They have the advantage of not containing any adverts, although they only stay on your machine for about a week. * You have standard Catch-up and then Catch-up plus that provides you with more variety when your Explora is connected to the internet. |
| 6. REMOTE RECORDING SET-UP: ** This feature has recently been discontinued. |
How are DStv recordings done?
- ITEM 1 & 2 are explained above.
- ITEM 3 is recording programs using your Tv Guide, and is done by using the Tv Guide button on the remote (A9 and older) to get your tv Guide on the screen. Then you can move the highlighted area up, down left or right with your cursors (arrow) buttons. Going right advances the time & days, while going down will move you from the lower numbered channels to the higher ones.
- P+ will move you ahead one day at a time.
- The A10 remote does not have a Tv Guide button, so just use the big Blue Home button to get your top Menu on screen and then scroll right or left until you have the Tv guide icon highlighted.
- When you have the program that you wish to record highlighted, you can press OK. Now some option menu’s may come up, and all you have to do is to read your options at the bottom of the screen and clicking on the desired one.
- ITEM 4: Manual recording setup is done by going to PLANNER on the menu at the top. It will give you the option of: Create Manual Recording. Just fill in the desired fields and press OK.
- ITEM 5: Here you have no control of what is recorded by catch-up.
Playback of your DStv recordings:
You will have four lists of recording data available:
| 1. A list of recordings that you have asked for, by setting it up. |
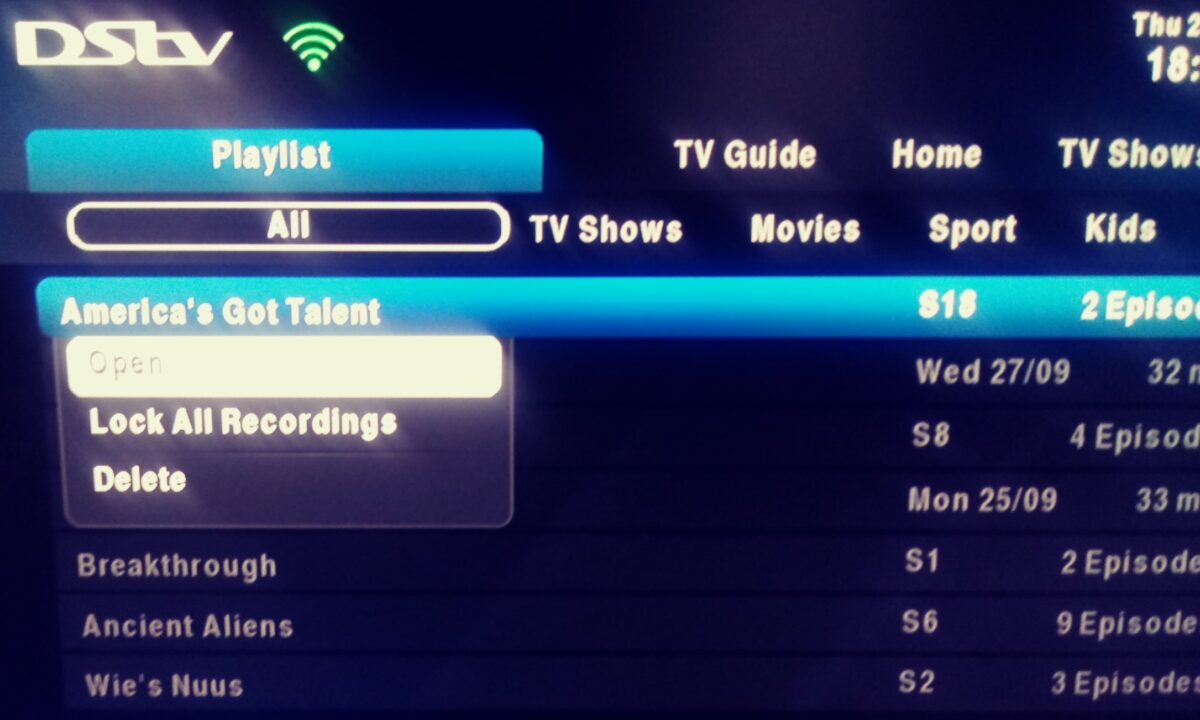
| 2. The list of these programs that have already been recorded. (Playlist). |
| 3. Under playlist navigate one down & look at the bottom menu that shows to press ALT. This will take you to the Schedules that will show you recordings that are still to come up, plus a conflict list. You can also access the schedules from Planner in the main menu. |
| 4. A very handy feature can be accessed by using the “Bookmarks” Button. Here you can mark specific points in the recording so that you can go back to those points quickly. When say your favorite song starts, press the bookmark button and a white dot will appear at the top. You can now afterwards go back to that point by just pressing Left or right arrow on the status bar. You can duplicate this many times within one music show. |
These features are very well designed by the IT engineers to for instance remedy any conflicts by itself if possible.
Deleting already watched programs:
When in your playlist, look carefully at the bottom menu. It will show you exactly what to do:
- To remove a watched program from the list.
- Lock a program so that it cannot be accidentally deleted.

Finding what is on DStv Catch-up:
- Under the Top menu you will see: Tv shows, Movies, Sport etc. with down loaded Program Thumbnails below it.
- Some of these thumbnails are indicated as “Catch-up”.
- By using your cursors and OK buttons you can highlight a thumbnail and OK on it to watch the program that has been downloaded via your satellite dish.
- You can get a wider variety of Catch-up programs called Catch-up Plus. This gets downloaded via your internet being connected to your Explora.
- This can be done with either a direct Ethernet cable between your router and your decoder. Or by using a DStv WiFi adapter.
- This will also help you to get features like Showmax etc.
Conclusion.
This is the short version of recording that should put you well on your way of getting it done. There are a few more features, but you will surely pick this up as you go along. – Happy Recording.
